The first step is to know the exact pixel dimensions of the images you plan to put up. Whenever you upload to blogger, your images get re-sized to 400 px on the image's longest dimension. So in Photoshop, what I do, is size my images to 800 px, just because it makes the math needed to maintain proportions easier.

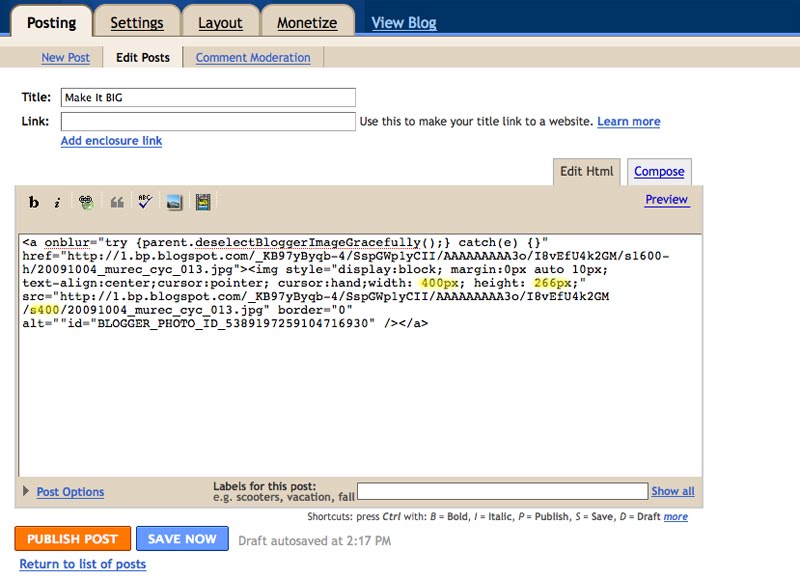
This is what an image uploaded directly to blogger looks like in their html. Highlighted are the three sections of code that need to be altered to allow for a larger image. If you upload your photos to flickr or some other hosting site first, you're going to get something completely different and you'll have to manage you image size there instead of on blogger's site. For visual reference, this code looks like this image:

(Note that this is based off the "large" settings in blogger.)
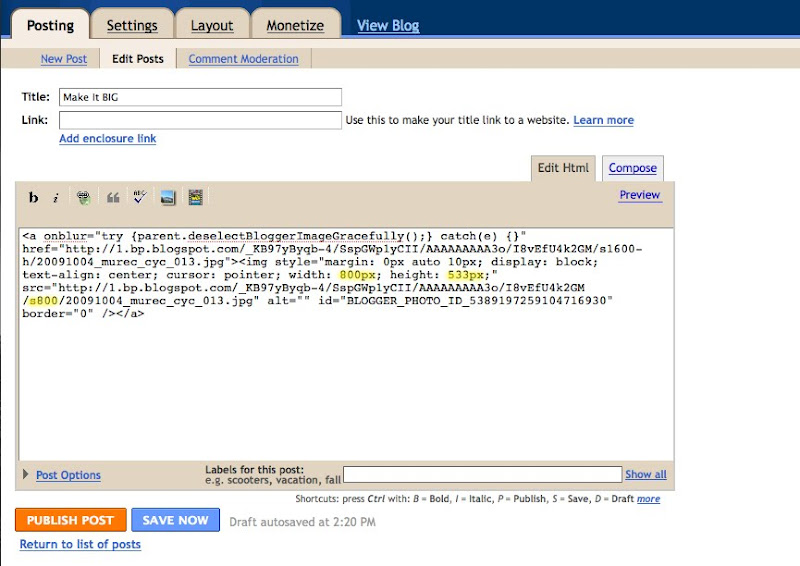
Now, since we know what dimensions we really want the photo to be, all we have to do is plug in our dimensions into the three areas of the html that blogger uses to define the dimensions of the images, which looks like this once you're done.

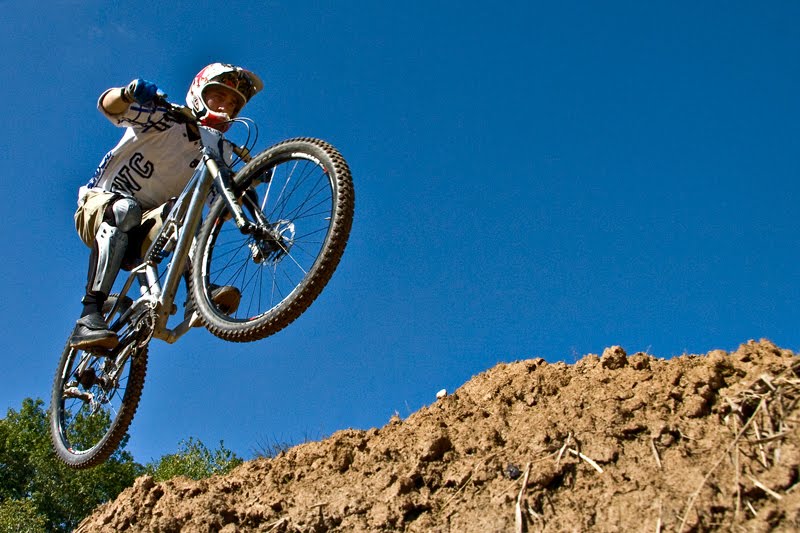
If you forgot to write down your dimensions but are sure you re-sized your image to 800 px on the long side, the handy thing is since we're simply doubling the longest dimension, you just have to take blogger's dimensions and double them. Just be sure to change the 's400' section of the code to 's800' or the photo won't get any bigger. Once you've made those changes, you get a nice large image like this:

And that's all there is to it.
(Photo ©Matthew Cavanah, 2009)

No comments:
Post a Comment